How To Register
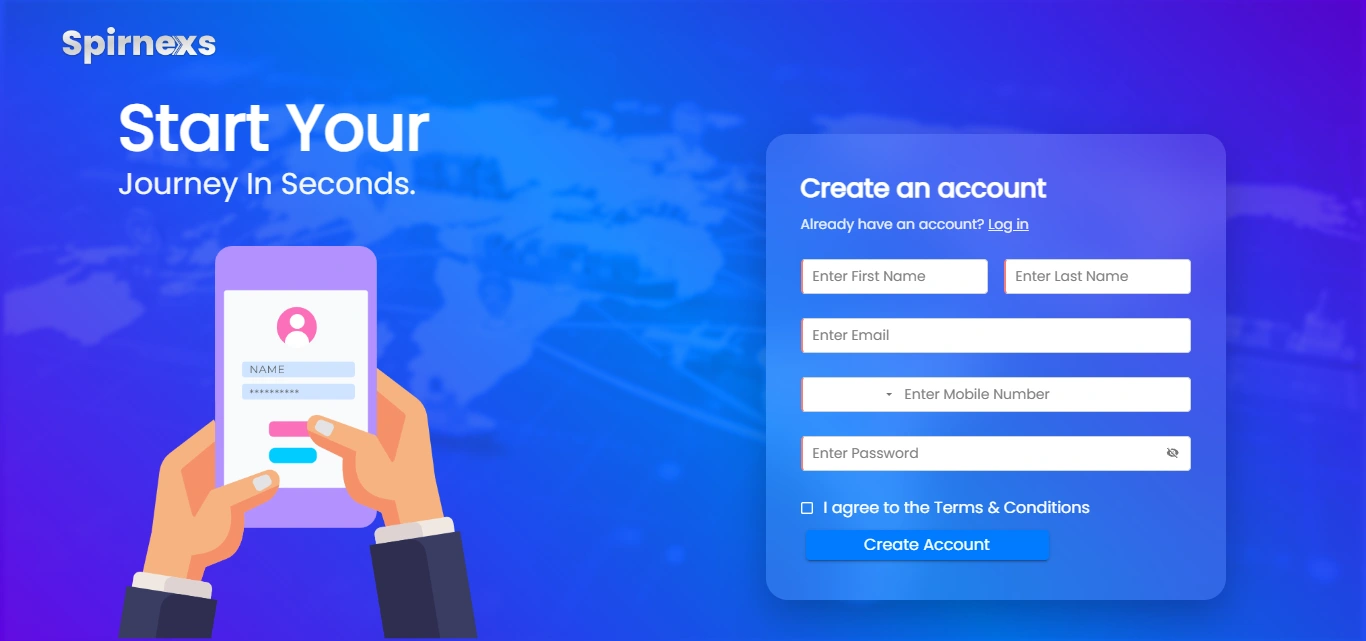
Registration form fields
The registration section collects basic user and contact data.
- First Name and Last Name: Text inputs for the user's personal details.
- Email: Primary email address used as a login credential and for notifications.
- Country / selection dropdown: A select field, likely for choosing country or similar profile attribute.
- Mobile Number: Numeric field for contact and verification.
- Password: Secure field with an option to show/hide the entered password.
These fields ensure the system can create a unique, secure user profile.
Actions and behavior
Users can perform the following actions on this screen:
- Enter all required fields and click "Register" to create a new account.
- Use the "Show password" toggle to verify the password before submitting.
- Switch to the regular "LOGIN" flow if they already have credentials (typically via a separate button or link near the top).
On successful registration, the user is usually redirected to the main application (dashboards, shipments, reports, etc.).
Best practices for users
When using this screen:
- Provide an active email and mobile number to receive OTPs, alerts, and support communication.
- Choose a strong password (mix of letters, numbers, and symbols) and keep it confidential.
- Ensure country/selection is accurate so system defaults like time zone and formats work correctly.
How To Login
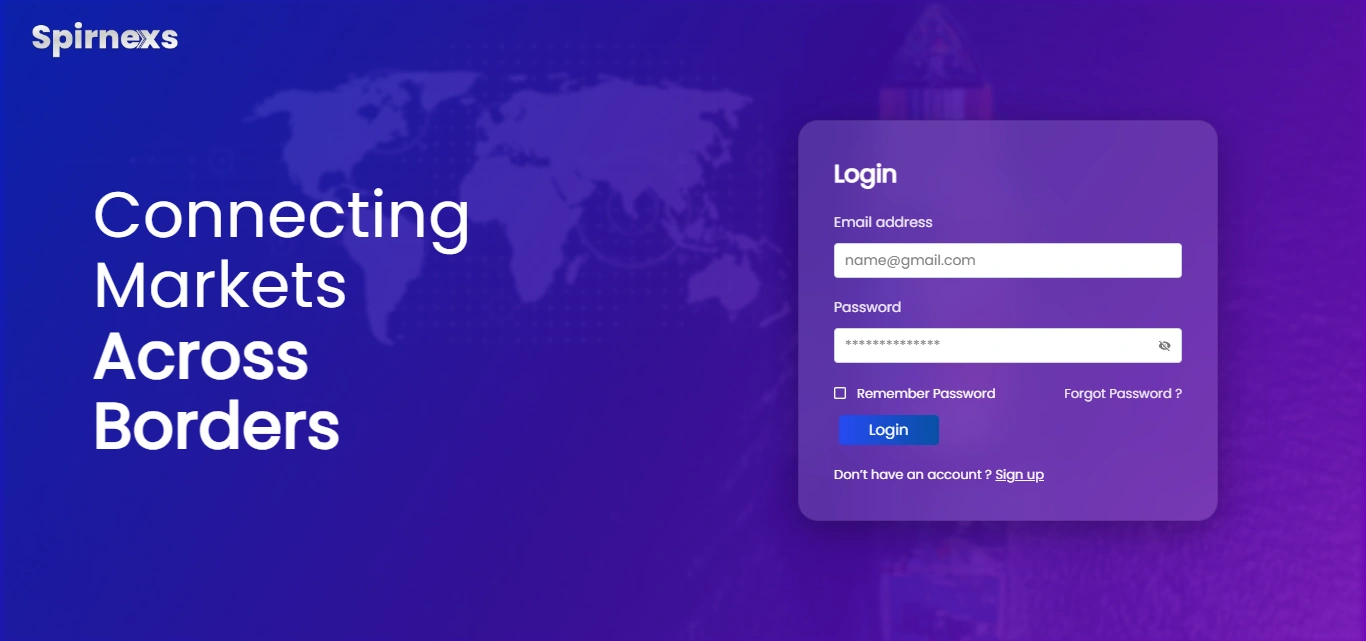
To log in to your Spirnexs EXIM CRM account, enter your registered email address in the “Enter Email” field and your password in the “Enter Password” field, then click the “Login” button to proceed.
Step-by-step login
- On the login screen, locate the "Login to your account" section.
- Click in the “Enter Email” field and type your registered email address.
- Click in the “Enter Password” field and type your account password; you may use the "Show Password" option to verify what you typed.
- After filling both fields, press the “Login” button to access your Spirnexs EXIM CRM dashboard.
If you are a new user
Use the "New User" option on the screen if you do not yet have an account, then follow the on-screen instructions to register.
If you forgot your password
Click the "Forgot Password?" link on the login screen and follow the instructions to reset your password, then return to this page and log in with the new password.
Spirnexs subscription page where you configure how many users and companies you want, and it shows you the resulting annual price estimate for the software.
Plan and region
- The page appears to be for the INTERNATIONAL → CHINA region, with a toggle between Monthly and Yearly billing; the pricing shown is for a 12-month (Yearly) plan.
- It is part of the “Setup” section of Spirnexs, alongside other setup areas like General, Security Control, Business Master, Status Master, and Customization.
What is included by default
- The “Basic Subscription Fees” block shows the base yearly price: 420 (currency symbol hidden but shown as “$ 420.00”) for 12 months.
- This base fee includes 2 users and 1 company, so you only pay extra if you go beyond those included quantities.
Extra users and companies
- “Users Subscription” shows an additional 15 per user per year; you enter the number of extra users in the input box, and the system multiplies it by 12 months to calculate the yearly add-on amount.
- “Company Subscription” works the same way, with 15 per company per year; the input box lets you specify extra companies beyond the 1 included.
Discount and yearly total
- The “Discounted Price (10% OFF)” line shows the discount applied to the base annual amount; with a 10% discount on 420, the discount is 42.00.
- After discount, the “Yearly Total Subscription Amount” is 378.00, which is the final yearly price currently shown on the screen.
Actions you can take
- At the bottom, there are two options: “Buy Now” to proceed with a paid subscription using the current configuration, or “SKIP & START FREE TRIAL” to bypass payment and start a trial.
- The presence of mode information (\"mode\":\"full\",\"isActive\":true,...) suggests this is the full active subscription configuration screen, not a read-only view.
Leads Knowledge Base
Overview:
The Leads section helps you store, track, and manage potential customers for your business. Each lead entry contains information such as company name, country, contact person, contact details, lead status, and source.
Key Features:
- Lead List:
View a table of all leads with columns for Serial Number (SN.), Date, Company, Country, Contact Person, Contact Number, Lead Status, Source, Purchase Date, and available actions.
- Search & Filter:
Use search, filters, and column visibility options to customize the list display and quickly find leads.
- Lead Status:
Track the progress of each lead with statuses such as "New," "In Progress," "Qualified," or "Converted."
- Actions:
For each lead, you can:- View details
- Edit lead information
- Create new leads
-
No Records Notification:
If there are no records to display, a message will appear. Use the "Create" option to add new leads to the system.
How to Use:
- Click "Create" to add a new lead.
- Use filters or search to quickly sort and find specific leads.
- Edit or update existing lead details directly from the table.
- Monitor subscription data and next actions for each lead.
Best Practices:
- Keep leads up-to-date with all recent interactions.
- Use consistent lead status definitions for better tracking.
- Review and categorize leads weekly for maximum conversion.
Need Help?
Please refer to additional guides in the knowledge base or contact
support for questions on lead management.
https://app.spirnexs.com/alexxcansols/leads
Contacts Knowledge Base
Overview:
The Contacts page is your central repository for managing all business contacts. Each contact entry includes the contact's name, phone number, email address, associated company, country, and available actions.
Key Features:
- Contact List:
View, sort, and filter a table of all your contacts with columns for Serial Number (SN.), Contact Name, Contact Number, Email ID, Company, Country, and Actions.
- Search & Filter:
Use the search bar and available filters to quickly locate contacts based on various criteria.
- Actions
For each contact, you can:- View details
- Edit contact information
- Create new contacts
- No Records Notification
If there are no records to display, a message will appear. Click "Create" to add your first contact and begin building your network.
How to Use:
- Click "Create" to add a new contact to your list.
- Use the "Show/Hide search" and "Show/Hide filters" features to customize your view and quickly find the information you need.
- Edit contact details directly from the table, ensuring your database remains up-to-date.
Best Practices:
- Regularly update contacts after new shipments or communication.
- Include as much detail as possible for easy future reference.
- Use consistent naming and formatting.
Need Assistance? Check the knowledge base for detailed guides or contact support
for help with managing your contacts.
https://app.spirnexs.com/alexxcansols/contacts
Subscription List Knowledge Base
Overview:
The Subscription List page provides a centralized view of all active and past subscriptions associated with your account and business contacts. This helps you manage access to the shipment tracking software, plan renewals, and keep track of customer engagement.
Key Features:
-
Subscription Table
Review a complete list of subscriptions with columns for Serial Number (SN.), Company Name, Subscriber Name, Email ID, Contact Number, Country, Subscription Start Date, End Date, Status, and Actions.
-
Status Tracking
Monitor the current status of each subscription, such as Active, Expiring Soon, Expired, or Cancelled.
-
Search & Filter
Use advanced search and filter options to locate subscriptions by company, duration, status, or contact information.
-
Actions
For every subscription record, you can:- View detais
- Edit subscription information
- Renew or upgrade subscriptions as needed
- No Records Notification
If there are no subscription records, a prompt will encourage you to add new ones using the "Create" feature.
How to Use:
- Click "Create" to add a new subscription.
- Use filter and search options to quickly find relevant subscriptions.
- Update or renew subscriptions as needed to maintain uninterrupted service.
Best Practices:
- Renew subscriptions before expiry to ensure continued access.
- Regularly review subscription statuses to anticipate renewals or cancellations.
- Keep subscriber details accurate for streamlined communication.
Need Help? Refer to the knowledge base for assistance with subscription
management.
https://app.spirnexs.com/alexxcansols/subscriptionlist
Subscription Plan Knowledge Base
Overview:
The Subscription Plan page displays all available plans for accessing Spirnexs's shipment tracking and import-export management solutions. Use this page to compare features, durations, pricing, and find the plan best suited to your business needs.
Key Features:
- Plan Comparison Table:
View a clear table of available subscription plans showing Plan Name, Features, Duration, Price, Renewal Options, and Actions.
-
Feature Highlights:
For each plan, details may include number of users/seats, shipment tracking capabilities, data export/import features, priority support level, and customization options.
-
Actions:
For each plan, you can:- View full plan details
- Subscribe to a plan
- Upgrade or downgrade (if applicable)
- Contact sales or support for custom solutions
-
No Records Notification:
If there are no plans available, a notification prompts you to contact admin or support for further information.
How to Use:
- Review the list of available plans.
- Click on any plan to view detailed features and upgrade options.
- Select and subscribe to the plan that matches your usage and business goals.
Best Practices:
- Consider your company's size and workflow before choosing a plan.
- Review included features and support levels to maximize value.
- Regularly review your plan as your business grows or changes.
Need Help? See the knowledge base for explanations of each plan or reach out to
support for personalized recommendations.
https://app.spirnexs.com/alexxcansols/subscriptionplan
Wishlist Knowledge Base
Overview:
The Wishlist page allows you to track and manage a personalized list of individuals, companies, or potential clients you would like to connect with or onboard for your shipment tracking and import/export management platform. Use the wishlist to organize future opportunities and strategic contacts.
Key Features:
- Wishlist Table:
View a table with Serial Number (SN.), First Name, Last Name, Company, Country, Contact Number, Email ID, and Actions for each wish-listed entry.
- Search & Filter:
Access search and filter options to quickly locate specific entries.
- Actions:
For each wishlist entry, you can:- View full details
- Edit entry information
- Add notes or follow-up reminders
- Remove entries as needed
- No Records Notification:
If there are no wishlist records, a notification will prompt you to use "Create" to add new individuals or companies.
How to Use:
- Click "Create" to add a new wishlist entry.
- Use filters and search to manage and organize your wishlist efficiently.
- Follow up regularly with wish-listed contacts to turn them into active leads or partners.
Best Practices:
- Keep the wishlist updated with key prospects and contacts.
- Add relevant notes and reminders to increase conversion chances.
- Regularly review and prioritize contacts for follow-up.
Need Help? Refer to the knowledge base for tips on strategic outreach or contact support
for advice on growing your wishlist.
https://app.spirnexs.com/alexxcansols/wishlist
Reports Knowledge Base
Overview:
The Reports page provides comprehensive analytics and insights into your shipment tracking and import/export operations. It enables you to generate, view, and export various business reports for informed decision-making and efficient workflow management.
Key Features:
- Reports Table:
Browse a list of available reports, including columns for Report Name, Type, Date Generated, Status, Export Options (PDF/Excel), and Actions.
- Report Types:
Common reports include:- Shipment Activity Report
- Monthly/Yearly Summary
- Lead Conversion Report
- Subscription Status Report
- Contact Engagement Report
- Actions:
For every report, you can:- View detailed data and analytics
- Export reports as PDF or Excel files
- Schedule automated report generation
- Share reports with team members
- Search & Filter:
Quickly locate reports using search functionality or filter by report type, date range, or status.
-
No Records Notification:
If no reports are available, a prompt encourages you to create or schedule new reports.
How to Use:
- Click "Create" or "Generate" to produce a new report.
- Use filters and sorting to manage and find specific reports.
- Export or schedule recurring reports for automated delivery.
Best Practices:
- Review key business metrics regularly to optimize workflow.
- Use historical reports to track growth and address bottlenecks.
- Schedule routine reports for seamless management and compliance.
Need Help? Access the knowledge base for detailed tutorials on report generation or
contact support for custom analytics guidance.
https://app.spirnexs.com/alexxcansols/reports